PDF Editing Tools
You can edit the PDF freely with various drawing tools and page tools. These tools include; changing the format of the page, inserting text, free drawing on the page, highlighting, inerting emoji's and/or images. To do so, click on the desired tool in the Editing tools panel at the top right of the page.

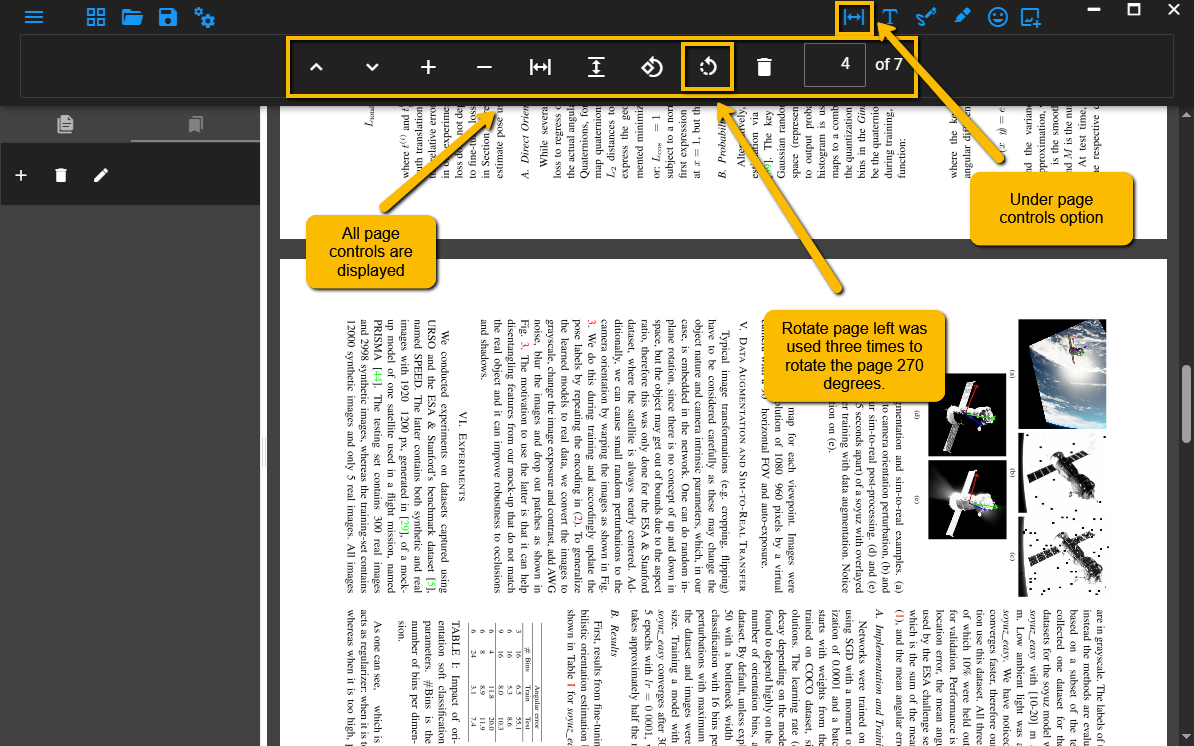
Page Controls
The page controls button gives you access to a menu of options to change the format of the page. In the below example the PDF has been rotated 270 degrees.
Insert Text
These are text boxes that can be placed on top of the PDF content. They can be resized and rotated, the opacity and font are also configurable. You can type whatever you desire in the text box.

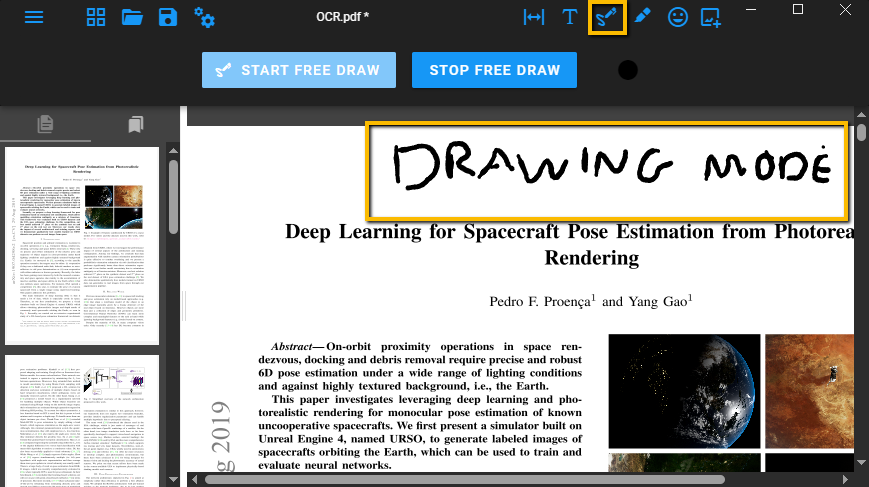
Editing Tools: Signatures and drawings
Selecting this enters you in drawing mode. Hold down left click and drag the mouse to draw.
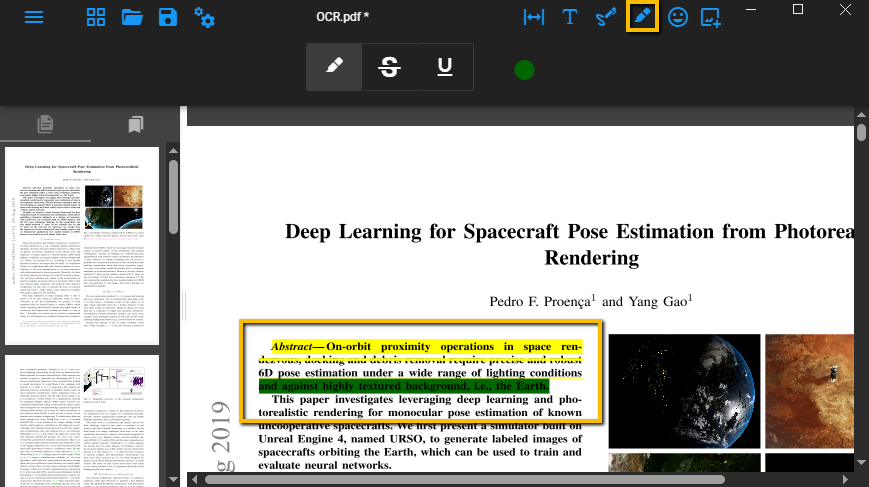
Text highlights
Selecting this enters you in highlighting mode. Hold down left click and drag the mouse over text to highlight it. You also can choose to cross out text, underscore text or change the colour of the highlights.
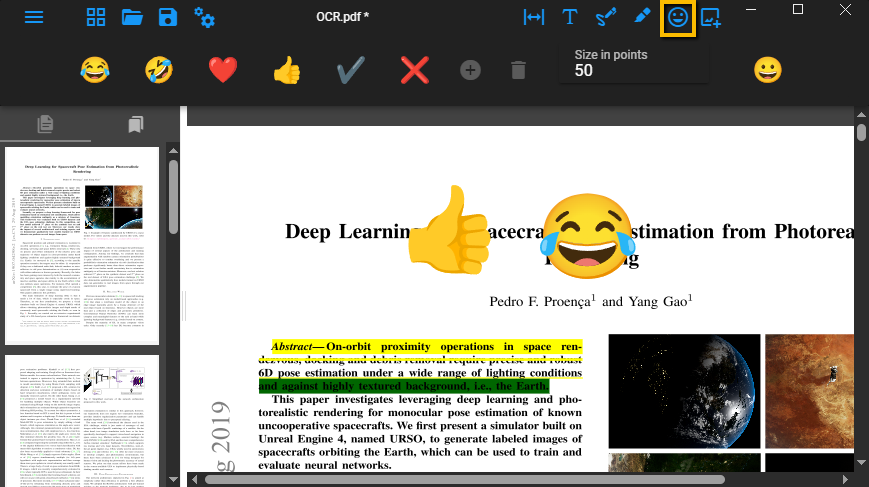
Emoji
Selecting this allows you to insert an emoji onto the PDF. There is a wide selection of emojis to choose from.
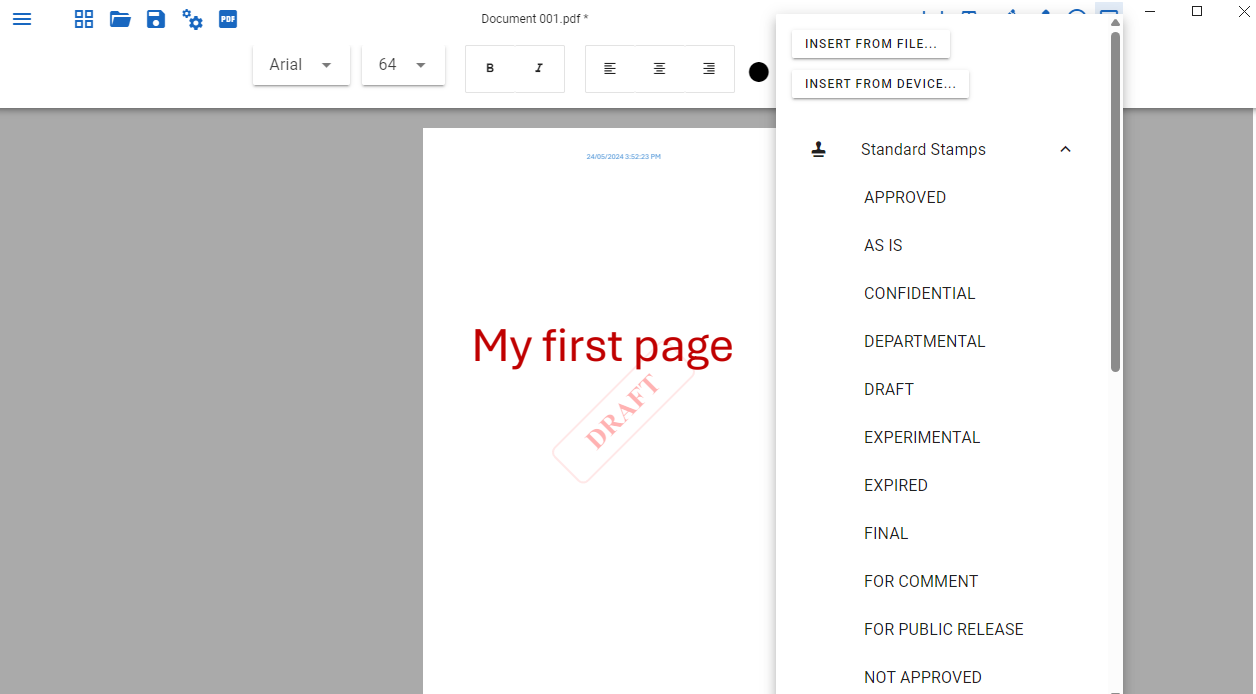
Insert Image
This view allows insertion of images or files for embedding within the PDF. In the below example, an image "draft stamp" from the standard stamps selection was embedded into the file. You use any of the standard stamps, or insert a file from your own device.