Using a Word Template with rows acting as line items.
Adjacent rows in the spreadsheet with the same email address are used to produce a single PDF invoice with line items. This is an advanced example where the 'rows to email' method is 'One or more rows generates a email'. This example also demonstrates use of a Word file as a template.
Note: HTML templates are ideally used to create line items from rows, as they can use Javascript or the Liquid Templating language to format the document. This example demonstrates how to do it in a Word template, for greater functionality use a HTML template.
This help page is only for builds of pdfMachine merge 2.0.7203.26553 and below. Later builds should use the syntax described here.
Step 1. Create CSV or Excel spreadsheet
The spreadsheet has merge fields as column headings. Each row must have an email address. Create consecutive rows with the same email address for each line item that you want in the PDF.

In this example 4 emails will be sent each with a single attachment.
- The first will have 4 line items
- The second will have 2 line items
- The third and fourth will have 1 line item
Step 2. Create the Word template.
pdfMachine merge installs with ready made profiles to get you started.
This
example is "Test Profile - Word template with 'bundled' emails"
Surround the merge fields that are not to be used as line items with {{ }}. The names of the merge fields must exactly correspond to the column names in the data source. The merge fields can be formatted using the Liquid Templating Language.
Putting in the line items
When using Word you need to create a set of merge fields for each line item that may potentially appear in the email body or attachment. This is different to HTML templates which can make use of either Javascript or Liquid to have a variable number of line items. Microsoft Word templates do not have a looping construct so you have to put them all in yourself. You refer to consecutive rows by appending "__" and the line item number after the merge field.
For Example : to display up to 4 rows of 'amounts donated' as in this example, create 4 merge fields.
{{amount_donated__1}}
{{amount_donated__2}}
{{amount_donated__3}}
{{amount_donated__4}}
For attachments that have less than 4 rows the new lines will still be displayed, resulting in blank rows where there are merge fields without a matching row. You can prevent this using the WordNewLine filter. That will prevent new lines from being displayed after an empty merge field.
{{amount_donated__1|WordNewLine}}
{{amount_donated__2|WordNewLine}}
{{amount_donated__3|WordNewLine}}
{{amount_donated__4|WordNewLine}}
To display any calculated field (eg total_donated), you need to have a column in your data source which represents that merge field. Calculations can only be done in HTML templates using Javascript.
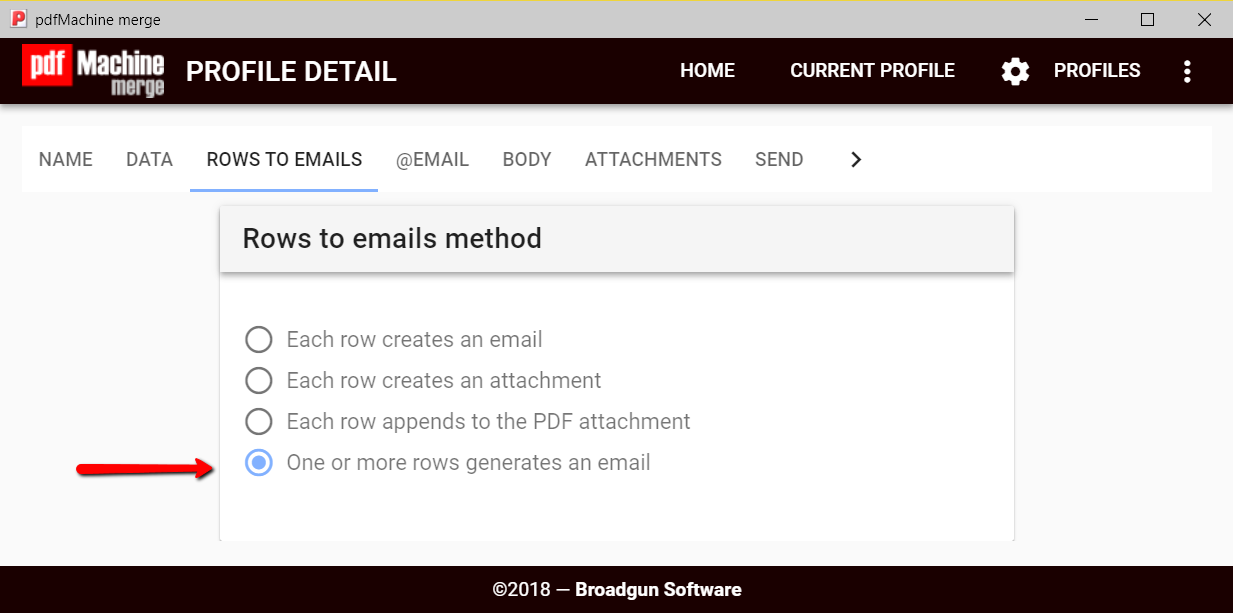
Step 3. Set 'rows to emails method' to 'One or more rows generates an email'.