How to print to create a PDF
You can print to pdfMachine to turn your document into a PDF. The auto append feature allows you to quickly construct a multi-page PDF by simply printing consecutive documents to PDF.
These instructions show you how to print to create a PDF. The example uses Notepad as the printing application, however you can use the print functionality of any Windows application to print to pdfMachine. Any options that you have configured will be applied to the PDF as it is created. Options may control what is done to the PDF. For example, if Security is enabled the PDF will be created encrypted, password protected and set with the selected permissions. The options may also control what happens next with the PDF, for example, the Next Action can be set to launch the PDF as an attachment in a compose email window.
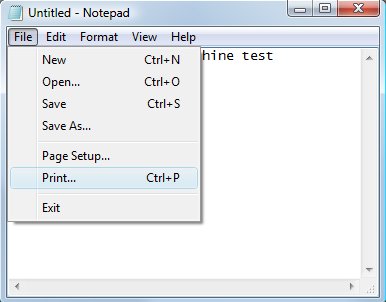
1. Open the content in the application (this example uses Notepad).
2. Use the application print functionality to initiate a print
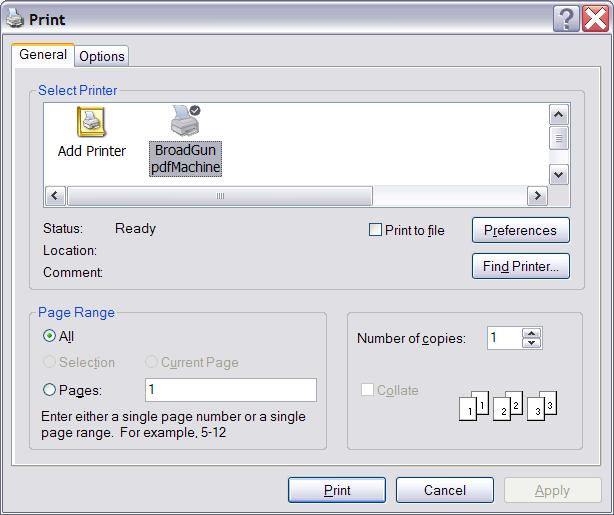
3. Select the 'Broadgun pdfMachine' printer from the list of printers and press the 'Print' button.
If you want to set up any options you can do that now by selecting the options tab of the Printing Preferences and click on the Options button. Or you can do them earlier by running pdfMachine options. For example you can configure security, stationery, digital signatures you can
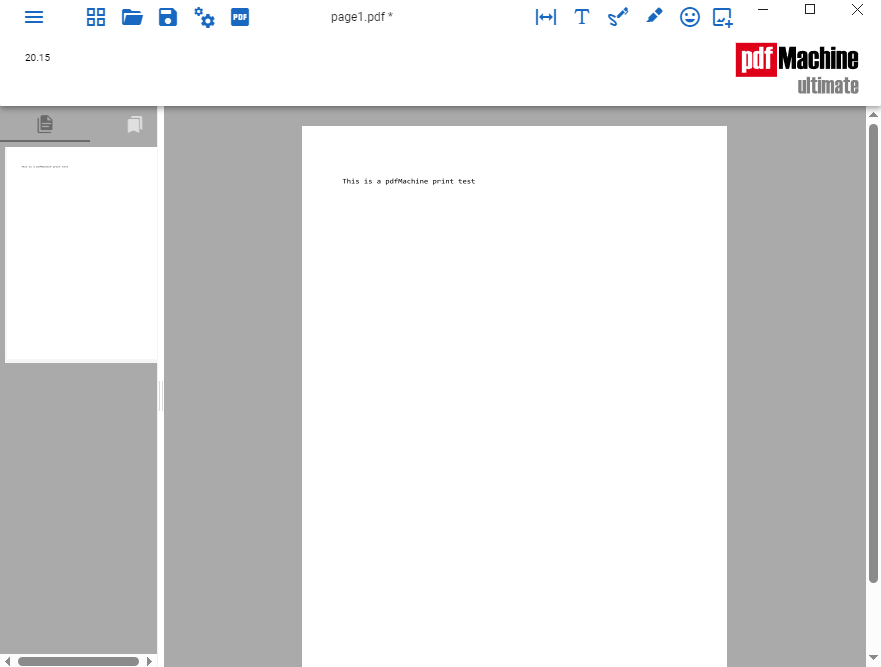
4. Preview the PDF file and then save, email or modify the PDF.